Today I am going to show you how to interface an LCD with PIC Microcontroller using MikroC Pro for PIC.
I assume that you know how to glow an LED using PIC Microcontroller, and you have tried it on hardware as well.
Okay now lets begin:
Step1 (Writing Code):
MikroC Pro has a build in Library code for LCD Interfacing with PIC Microcontroller. Open up MikroC Pro Select new project:

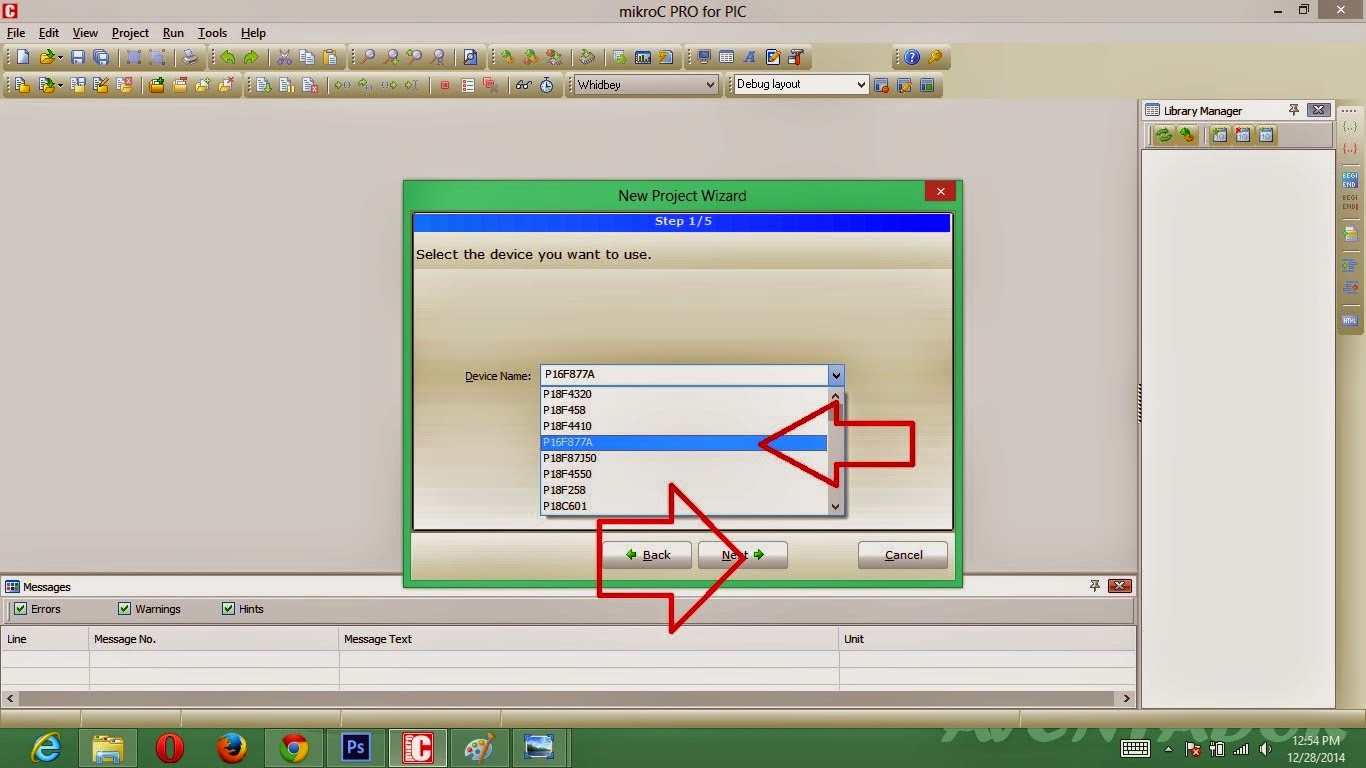
A dialog will appear click next:

I am using PICF877A so I am selecting PIC16F877A then click next:
Select a crystal frequency that you're going to use, I am selecting 16MHz, click next:

It will ask the path for saving file, and click next, next and next, copy the code below and paste it in mikroC.
// LCD module connections
sbit LCD_RS at RB2_bit;
sbit LCD_EN at RB3_bit;
sbit LCD_D4 at RB4_bit;
sbit LCD_D5 at RB5_bit;
sbit LCD_D6 at RB6_bit;
sbit LCD_D7 at RB7_bit;
sbit LCD_RS_Direction at TRISB2_bit;
sbit LCD_EN_Direction at TRISB3_bit;
sbit LCD_D4_Direction at TRISB4_bit;
sbit LCD_D5_Direction at TRISB5_bit;
sbit LCD_D6_Direction at TRISB6_bit;
sbit LCD_D7_Direction at TRISB7_bit;
// End LCD module connections
char txt1[] = "Programmed by";
char txt2[] = "Shahrukh Saleem";
//main method
void main()
{
Lcd_Init();
Lcd_Cmd(_LCD_CURSOR_OFF);
Lcd_Out(1,1,txt1);
Lcd_Out(2,1,txt2);
}

Compile your code to generate a .hex file or you can download the .hex file from here
Step2 (Simulation on Proteus):

NOTE: double click on the controller and select the .hex file
Step3 (Burn your PIC using PIC Programmer):
Well I have explain in detail about how to burn code in your PIC Microcontroller, in my previous tutorial of glowing led's through PIC Microcontroller
Step4 (Implement on Hardware):

Final result:

Make sure to share this tutorail with your friends so that every one can get the most out of it.
Thankyou!
Regards:
Shahrukh Saleem Qureshi
No comments:
Post a Comment